
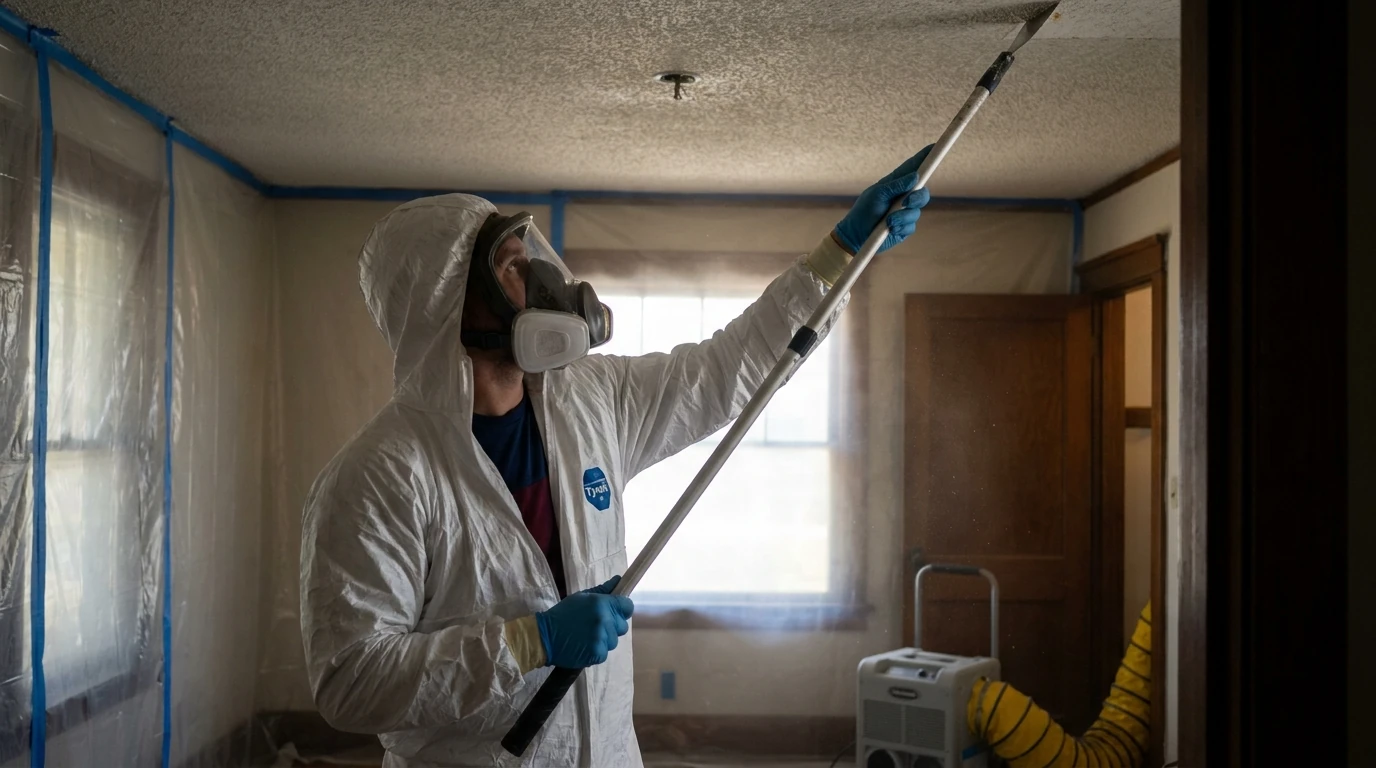
TL;DR: Replacing popcorn ceilings starts with testing for asbestos if your home was built before 1980, since many textured ceilings from that era used asbestos fibers for fire resistance. If the sample comes back clear, you can wet-scrape it yourself with a putty knife and plastic sheeting. If it tests positive, don’t scrape it: hire a licensed asbestos abatement contractor to remove it safely, or cover it with panels or a skim coat instead.
If you’re redoing floors, cabinets, or paint in a Sioux Falls home built between the 1940s and 1990s, there’s a good chance you’re staring up at a textured popcorn ceiling that doesn’t match the rest of the update. It was popular because it hid small imperfections easily; the downside is that it collects dirt and dust. Before you touch that ceiling, you need to know what’s actually in it.
How do I know if my popcorn ceiling has asbestos?
The only way to know for certain is lab testing, but your home’s build date is the first clue. Popcorn ceilings were standard in American homes from the 1940s through the late 1980s because the texture hid drywall seams and imperfections cheaply, and older textures often contained asbestos.
If your Sioux Falls home was built before 1980, treat the ceiling as a possible asbestos material until tested. Asbestos fibers are a known cause of lung disease and mesothelioma when disturbed and inhaled, according to the EPA. You won’t see or smell anything wrong; the texture looks and feels the same whether it’s asbestos-free or not.
How do you test a popcorn ceiling before removing it?
Get a sample tested before you scrape anything. Contact your local health department to ask about getting a sample tested, or have an accredited lab’s inspector or a licensed asbestos contractor collect the sample for you.
Do this before any scraping, wetting, or sanding. Disturbing the material to grab a test sample the wrong way is exactly the kind of fiber-release event you’re trying to avoid, which is why it is safest to let a trained professional take the sample.
What’s the right way to prep a room before scraping a popcorn ceiling?
Prep means protecting everything below and around the ceiling before a single scrape happens. Clear the room of furniture, light fixtures, and ceiling fans. Cover anything you can’t move with plastic drop cloths, and tape plastic sheeting along the wall-ceiling line, corner to corner.
Stuff newspaper or plastic bags into recessed lighting cans and tape them shut, and kill power to those fixtures at the breaker panel before you start. Plastic sheeting on the floor makes cleanup dramatically easier than cloth drop cloths, which trap dust and texture debris in the fibers.
This prep step matters regardless of whether the ceiling tested positive or negative for asbestos. A negative result still means dust and debris; a positive result means your contractor will add sealed containment and negative-air equipment on top of this baseline prep.
How do you scrape a popcorn ceiling safely?
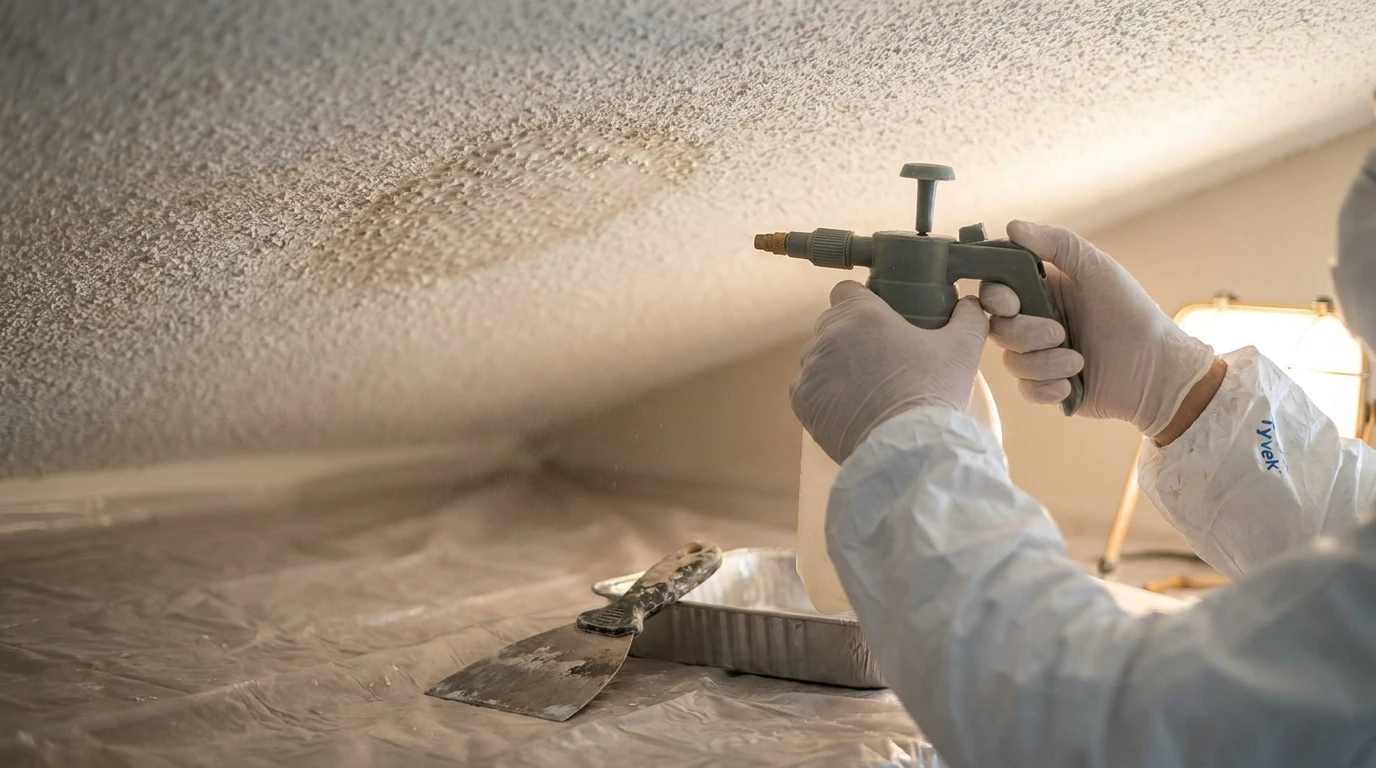
If your ceiling tested negative for asbestos, wet the texture in small sections with a garden sprayer, let it sit about 15 minutes to soften, then scrape with a dulled putty or drywall knife held at a shallow angle to avoid gouging the drywall underneath. A mud pan held against the knife catches scrapings and keeps the mess contained. Avoid soaking the ceiling, since too much water can loosen drywall tape and damage the board itself. If the ceiling was painted, water won’t absorb well, and you’ll either need to dry-scrape carefully or cover the ceiling instead.
If your ceiling tested positive for asbestos, do not scrape it yourself, wet or dry. Dry scraping releases fibers into the air, and even wet scraping without proper containment, a negative-air machine, and a sealed work area isn’t safe removal. This is the one step in the whole project where DIY stops being an option.
What are your options besides fully removing a popcorn ceiling?
Covering is often the faster, cheaper path, especially when a ceiling has tested positive for asbestos and full removal isn’t in the budget. Options include tongue-and-groove wood planks, drywall panels installed directly over the texture, or a thin skim coat of joint compound that smooths the surface without disturbing what’s underneath.
If the ceiling comes back clean and you want a modern look, a standard smooth drywall ceiling is the most common replacement, though it shows every imperfection in the surface below it. Textured alternatives like a skip-trowel or knockdown finish hide flaws the way popcorn texture did, without the dated look.
When should you call a professional instead of doing it yourself?
Call a licensed asbestos abatement contractor the moment a sample tests positive, or if your home was built before 1980 and you’d rather skip testing and have a pro handle the whole project. Crew Restoration & Construction handles asbestos abatement for homes across Sioux Falls and the surrounding area, including containment, removal, and disposal that keeps fibers out of your living space.
Replacing a popcorn ceiling is messy work either way, but the asbestos question is the one part of this project you can’t eyeball. Test first, then decide between DIY scraping, a cover-up finish, or a licensed abatement crew based on what the lab tells you.
About Crew Restoration & Construction
Crew Restoration & Construction is an IICRC-certified company (license #3814) serving Sioux Falls, SD since 2015, led by Kyle Eberts. The crew handles asbestos abatement alongside water, fire, mold, and storm restoration and general contracting work across the Sioux Falls metro and surrounding communities. Read how a recent environmental damage cleanup went in Sioux Falls for a look at the process in practice.
If you’d like a written scope before starting a popcorn ceiling project, call Crew Restoration & Construction at (605) 965-2727.